You can tell a lot about a clinic before you ever sit in the chair. The trick is knowing what to look for, and what to avoid. I have spent years working with injectors, correcting lip filler gone wrong, and talking through fears with first timers. The best outcomes rarely come down to a single syringe. They come from good judgment, a measured plan, and a practitioner who treats your anatomy with respect.
This guide maps out the red flags and green flags I use when advising patients who type “lip filler near me” and then face a wall of glossy ads. It also covers practical details, from lip filler cost and types to the swelling stages, healing time, and what a realistic lip filler results timeline looks like. If you want a natural look, or you are curious about the difference between lip filler vs Botox or a lip flip, you will find direction here.
Why choosing the right injector matters
Lips sit at the center of the face. When lip filler results miss the mark, everyone notices. Overfilling tends to shorten the distance between the nose and lip visually, create a shelf in profile, and blur the border that gives lips definition. Under the skin, poor technique can compromise blood supply, trigger prolonged swelling, or lead to lumps and asymmetry. The best lip filler experience feels uneventful: a thoughtful consultation, a conservative plan, predictable healing, and a result that integrates with your features.
Safety sits on two pillars. First, the product, which for most modern lip fillers means hyaluronic acid, a gel your body can eventually break down. Second, the injector, whose technique, anatomy knowledge, and ability to recognize and manage complications reduce the risk profile from theoretical to genuinely low. Good injectors will show you lip filler before and after photos that demonstrate restraint and range, not just the dramatic results that rack up likes.
Lip filler basics, in plain language
Most lip filler injections for cosmetic enhancement use hyaluronic acid (HA) gels. Brands vary by country and region, but the differences that matter tie back to cohesion, firmness, and how easily the product integrates with moving tissue. Lips move constantly, so the best lip filler choice is usually a softer, more elastic HA that blends with frequent motion. Stiffer gels can create sharp definition for the cupid’s bow or vermilion border, but deposited in the wrong plane they can look rigid.
People often ask about volume: 0.5 ml vs 1 ml. For first timers seeking a subtle look, 0.5 ml can refresh hydration and shape with minimal downtime. Many start with 1 ml if they want a noticeable volume increase or if their lips are naturally thin. Rarely does anyone need more than 1 ml in a single lip filler appointment. Building in stages gives you latitude to adjust shape and balance over time.
Longevity varies. Expect 6 to 12 months for most HA lip filler results. Metabolism, product choice, and technique all influence duration. Smokers and very active people often metabolize faster. Touch ups or a lip filler top up around month 6 to 9 can maintain shape without overfilling.
The consultation: green flags you should hear
The first appointment, whether virtual or in person, tells you everything. A strong consultation sets realistic lip filler expectations, explains the lip filler process, and maps your anatomy. Good injectors ask about your dental bite, gum show on smiling, facial asymmetry, prior filler, and whether you ever had a cold sore. They discuss downtime, lip filler swelling stages, bruising risk, and aftercare before talking about price. They may sketch your lip lines, show their plan for contour or volume, and recommend a staged approach.
The tone matters. If you bring reference photos, a professional will analyze what you like about them: a defined cupid’s bow, a softer philtral column, more vertical height in the top lip, or better balance in profile. You should hear a strategy tailored to your face. Phrases like “We’ll start conservative, evaluate at two weeks, and adjust if needed” are good signs. So is a clear explanation of lip filler techniques, such as small aliquots placed in the vermilion body for hydration, micro-boluses to correct asymmetry, or subtle definition along the border to prevent lipstick bleed.
Red flags that should slow you down
It is easy to spot obvious problems, like an injector who cannot explain risks. More common are smaller tells.
- Prices that are dramatically lower than the local norm without a clear reason, like a published training day or model rate, can indicate off-brand products or rushed appointments. No medical history taken. If they do not ask about allergies, autoimmune conditions, blood thinners, or recent dental work, they are skipping fundamentals. A one-syringe-fits-all pitch. Your lip shape, dental occlusion, and tissue quality dictate dose and technique. Cookie-cutter lips are a warning. No discussion of lip filler side effects, including bruising, swelling, lumps, or rare vascular issues, and no mention of hyaluronidase for reversal. Pressure to go bigger at the first visit. Fuller lips can be beautiful, but staged growth looks and ages better.
If any of these appear, keep looking. You can always book a consultation elsewhere. Good injectors do not mind informed patients.
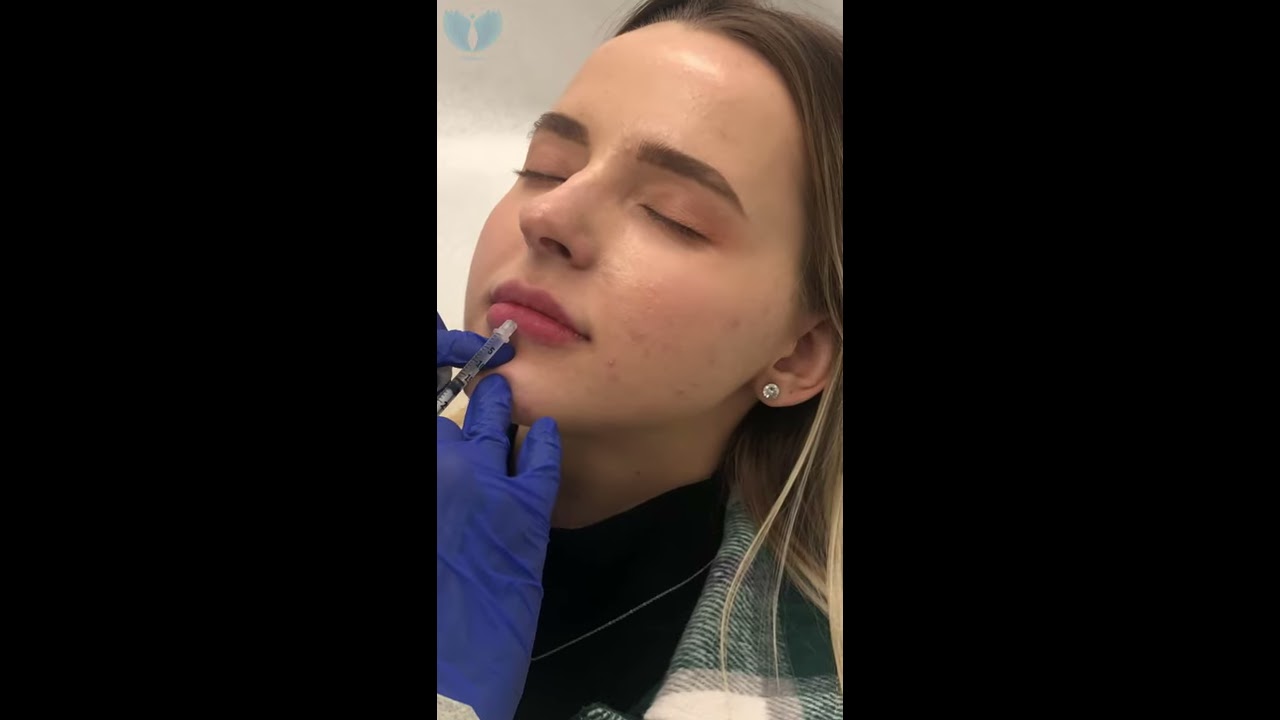
The day of treatment: what the process should include
Expect to review consent, discuss lip filler risks again, and take standardized photos from multiple angles. Topical anesthetic usually sits for 15 to 30 minutes. Some HA fillers include lidocaine, which helps once injection begins. You will feel pressure and occasional sharpness. Most patients rate lip filler pain level between 3 and 6 out of 10. Ice between passes helps.
Technique varies by plan. Needles allow precise border shaping, while cannulas reduce bruising in some areas and can place product in a smoother, fan-like pattern. There is no single best technique; skilled injectors switch tools based on anatomy and goal. A typical appointment runs 30 to 60 minutes start to finish. You should leave with clear lip filler aftercare and a follow-up date.
Cost and value, not just price
Lip filler cost depends on region, product, and the injector’s expertise. In many cities, a syringe of high-quality HA runs in the few-hundred-dollar range, sometimes more with experienced providers. Beware of clinics quoting “per area” without specifying volume or product. The value sits in safety, planning, and outcomes. A conservative first syringe, followed by a measured lip filler touch up, often outperforms a bargain two-syringe bundle rushed through in one visit.
The first 72 hours: swelling, bruising, and what is normal
Lips swell early and unevenly. Patients often message at hour six, worried their top lip is larger on one side. This is the classic early phase of the lip filler swelling timeline. Cold compresses in short intervals, head-of-bed elevation, and avoiding salty foods reduce fluid retention. Expect peak puffiness at 24 to 48 hours, then a steady decline.
Bruising ranges from pinpoint dots at entry sites to a faint mustache hue around the border. If you bruise, concealer helps after day one or two. Arnica can help marginally, though evidence is mixed. Plan your lip filler appointment at least one to two weeks before an event. If you have a history of cold sores, ask about prophylactic antivirals, since injections can trigger an outbreak.
The healing arc: what the results timeline really looks like
By day three to five, initial swelling settles. The lip border looks more defined, and hydration improves. Small lumps can appear as beads along the injection path. These usually soften as the filler integrates. Light fingertip massage as directed can help, but do not overwork the area. By two weeks, most lips read as “yours, but better.” The true lip filler healing time for final shape is two to four weeks, especially if you bruise easily or retain fluid.
If something feels off at the two-week review, minor adjustments are straightforward. A touch up of 0.1 to 0.3 ml can fine-tune the cupid’s bow, even out asymmetry, or sharpen a softened border. If a small persistent lump remains and does not respond to massage, a tiny dose of hyaluronidase can dissolve it.
Safety nets: dissolving, reversal, and when to worry
The safety advantage Visit this site of HA fillers is reversibility. Hyaluronidase dissolves hyaluronic acid, often within minutes to hours. This is invaluable for correcting overfilling, misplaced product, or contour irregularities. It also stands as the emergency tool for vascular compromise, a rare but serious event when filler blocks blood supply. The red flags for this complication include pain out of proportion to injection, blanching or mottled skin color beyond the needle site, and persistent coolness or numbness. If any of these occur during or after your lip filler treatment, contact your injector immediately or seek urgent care. Good clinics have protocols and vials on hand. Ask to see them, and do not be shy about it.
Lip filler vs Botox and the lip flip question
Botox does not add volume to lips. It relaxes muscle activity. A lip flip uses a few tiny Botox units along the upper lip to reduce inward roll, which can make a thin top lip show slightly more pink. It can soften smokers lines and enhance the cupid’s bow. The effect is subtle and tends to last eight to ten weeks, shorter than filler. Lip filler vs lip flip is not either-or; some patients do both, starting with microdoses of filler for structure and a light lip flip to reduce tension. If you rely heavily on strong enunciation or play wind instruments, a lip flip can feel odd at first, so test a low dose.
The natural look: what actually creates it
Natural lips are not perfectly symmetrical. The top lip usually has slightly less volume than the bottom, with a clear vermilion border and a defined cupid’s bow. The philtral columns guide light vertically. When injectors chase a uniform sausage shape, the lips flatten, and that natural interplay of shadow and light disappears. The most convincing lip filler natural results preserve your personal proportions, sharpen definition, and use volume where tissue can hold it without buckling. Sometimes the best way to make lips look fuller is to correct dental or skeletal elements that make the lips look tucked. Skilled injectors recognize when filler is not the answer.
Techniques explained without the jargon
If your lips are thin across the board, a gentle sheet of HA in the vermilion body adds hydration and subtle plumping. If your lips lack border definition, microthreads along the edge, placed carefully and not too superficially, sharpen the outline and reduce lipstick bleed. For symmetry, tiny boluses target the low side rather than overfilling the high side. For a sharper cupid’s bow, precise placement near the peaks and slight support under the philtral columns can create a lift without over-projecting the center.
Cannulas are flexible blunt tubes that enter through a small pilot hole, traveling under the skin with fewer passes. Needles allow exact placement and crisp lines. Many excellent results come from combining both in one session. The mantra is low volume, high precision.
When lip filler goes wrong, what next
The most common issues are overfilling, surface bumps, migration above the lip border, and uneven projection. The fix depends on the cause. Migration often results from too much product in too superficial a plane or repeated top-ups without full integration time. Dissolving and starting fresh after a few weeks of recovery gives the best long-term outcome. For surface bumps, massage may work; if not, a tiny shot of hyaluronidase smooths things out. If the shape looks off, wait until swelling resolves to judge. Then adjust with microfiller rather than more bulk. You want definition and placement, not a bigger mistake.
Aftercare that actually helps
The first day, keep lips clean and avoid heavy makeup directly over injection points. Skip strenuous exercise, hot yoga, steam rooms, and alcohol for 24 hours to minimize swelling and bruising. Sleep slightly elevated the first night. Hydrate well, and avoid salty snacks. Do not schedule dental cleanings or vaccinations within a few days of your appointment if you can help it. For lip filler care over the first week, stick with gentle balms and avoid aggressive scrubs. If your injector suggests light massages at a certain time point, follow their technique and frequency, not a random online method.
Maintenance, longevity, and when to top up
Most patients enjoy their lip filler effects for half a year to a full year. You will feel hydration benefits even as volume slowly declines. A lip filler touch up at the midpoint maintains results without re-stretching tissue. If you want to change style, let the prior filler fade more, or dissolve to reset. For those who like very subtle look changes, 0.5 ml every 8 to 10 months can keep lips fresh without obvious cycles.
Your lifestyle plays a role. High-intensity training, fast metabolism, and frequent sun exposure all correlate with faster breakdown. On the flip side, realistic intervals prevent overaccumulation, the quiet culprit behind that “done” look.
What to expect week by week
Right after treatment, lips look plump and a bit shiny, with tenderness at injection sites. Day one to two, swelling is at its peak; unevenness is common. Day three to five, things settle as fluid dissipates. At one week, color and texture normalize, and most bruising fades. By two weeks, definition and contour read naturally. At one month, the result is stable, and you can decide if you want a micro-adjustment. Patients often report that lipstick sits better, lip lines soften, and the cupid’s bow holds shape without liner.
Alternatives and when to consider them
Some patients do not tolerate filler well, or they want an ultra-subtle tweak. A lip flip can help roll a thin top lip outward slightly. Energy-based treatments around the mouth can stimulate collagen for fine lip lines, though results are gradual. Skincare with humectants and balms with occlusives can enhance hydration. For structural lip lines or severe smokers lines, a combination of microneedling and lightly crosslinked HA placed superficially can help. If you want permanent volume, surgical options exist, but they come with trade-offs and should be considered only after a stable, well-tolerated filler history.
How to vet clinics when you search “lip filler near me”
You can narrow options quickly by scanning websites and social accounts with a critical eye. Look for consistent, well-lit lip filler before and after photos taken at similar angles, with captions explaining approach and volume used, like 0.5 ml for definition or 1 ml for balanced volume. Read lip filler reviews for patterns, not perfection. Everyone has an off day; you are looking for how clinics handle follow-up and whether their patients feel heard.
If a clinic highlights lip filler FAQs and shows their lip filler procedure steps, that is a plus. Do they explain lip filler swelling, bruising, and the recovery timeline in detail? Can they distinguish lip filler vs lip flip and describe when each fits? Do they outline lip filler risks and safety protocols, including access to hyaluronidase? The more transparent they are, the more likely they are to handle your care responsibly.
A compact pre-appointment checklist
- Ask who performs the lip filler injections, what training they have, and how often they treat lips. Request to see hyaluronidase on site and hear their complication plan. Clarify product brand, volume options like 0.5 ml or 1 ml, and per-syringe pricing. Discuss your goals in anatomical terms: definition, volume, symmetry, profile balance. Schedule with enough lead time for swelling stages to pass before events.
Myths and facts that still trip people up
Filler does not stretch lips permanently when done thoughtfully with appropriate volume. Overfilling repeatedly can lower tissue quality over time, which is why maintenance plans and pauses matter. Massage does not fix migration that stems from poor placement. Dissolving does. Drinking water after filler does not “inflate” the product; HA attracts water within tissue but in a controlled way. Lumps do not always mean bad placement; early integration just takes time.
First timer guide: what not to do
Do not chase a trend you saw on social media if it clashes with your anatomy. Do not book a bargain you cannot verify. Do not plan your lip filler appointment the day before photos. Do not hide your medical history or skip antiviral prophylaxis if you get cold sores. Do not keep adding syringes simply because you can, especially in the first session. Your future self will thank you.
The professional’s view on trends
Every year brings a new label for a lip style, from “cherry lips” to hyper-defined borders. Some trends age well; most do not. The most resilient approach respects your baseline. Add structure where you lack it, add volume only where tissue can support it, and protect the ratio between top and bottom. When a patient brings a trend, I translate it into principles: more lateral fullness, softer center projection, subtle tubercles, or refined vermilion. That conversation turns a fad into a plan that still looks like you in a year.
Bottom line: green flags worth trusting
A clinic that listens first, explains clearly, and works conservatively tends to deliver results you can live with. You should feel like a collaborator, not a sales target. When an injector maps your lip anatomy, details the lip filler process, discusses lip filler aftercare, and sets a follow-up, you have checked the boxes that matter. From there, the art takes over: micro-volumes, careful placement, and respect for proportion.
Choosing lip filler is not about finding the cheapest syringe or the loudest before-and-after. It is about finding a practitioner who understands balance, anticipates the healing process, and has the skills to correct course if needed. If you keep that standard while you search for “lip filler near me,” you will stack the odds firmly in your favor.